<!-- jpa driver --><dependency><groupId>org.springframework.boot</groupId><artifactId>spring-boot-starter-data-jpa</artifactId></dependency><!-- spring web driver --><dependency><groupId>org.springframework.boot</groupId><artifactId>spring-boot-starter-web</artifactId></dependency><!-- MySQL database driver --><dependency><groupId>mysql</groupId><artifactId>mysql-connector-java</artifactId></dependency><!-- Skip test plugin --><plugin><groupId>org.apache.maven.plugins</groupId><artifactId>maven-surefire-plugin</artifactId><version>2.22.2</version><configuration><skipTests>true</skipTests></configuration></plugin>
## use create when running the app for the first time
## then change to "update" which just updates the schema when necessary
spring.datasource.url=jdbc:mysql://localhost:3306/notesapi?createDatabaseIfNotExist=true&useSSL=false&serverTimezone=UTC
spring.datasource.username=root
spring.datasource.password=root
spring.datasource.driver-class-name=com.mysql.cj.jdbc.Driver
## this shows the sql actions in the terminal logs
spring.jpa.database-platform=org.hibernate.dialect.MySQL8Dialect
spring.jpa.hibernate.ddl-auto=update
spring.jpa.show-sql=true
spring.jpa.properties.hibernate.format_sql=true
##optional, but just in case another application is listening on your default  port (8080)
server.port = 8034
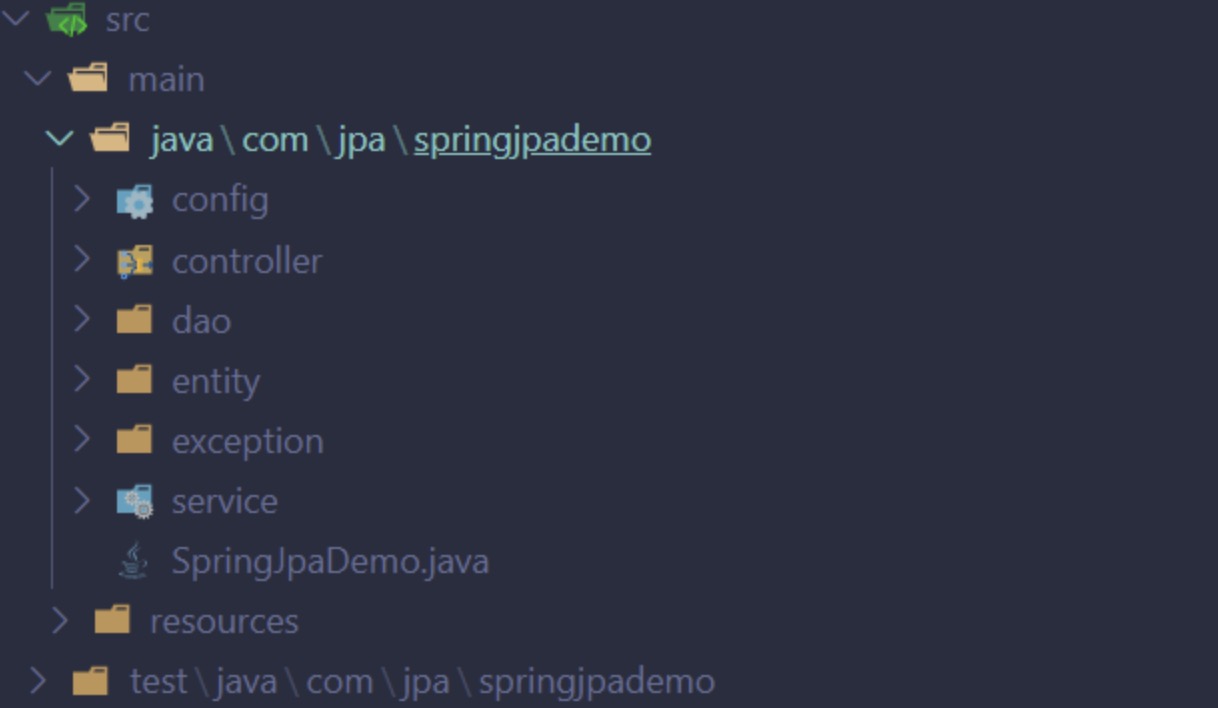
packagecom.jpa.springjpademo.exception;importorg.springframework.http.HttpStatus;importorg.springframework.web.bind.annotation.ResponseStatus;@ResponseStatus(value=HttpStatus.NOT_FOUND)publicclassResourceNotFoundExceptionextendsRuntimeException{privatestaticfinallongserialVersionUID=1L;privateStringresourceName;privateStringfieldName;privateObjectfieldValue;publicResourceNotFoundException(StringresourceName,StringfieldName,ObjectfieldValue){super(String.format("%s not found with %s : '%s'",resourceName,fieldName,fieldValue));this.resourceName=resourceName;this.fieldName=fieldName;this.fieldValue=fieldValue;}publicStringgetResourceName(){returnresourceName;}publicStringgetFieldName(){returnfieldName;}publicObjectgetFieldValue(){returnfieldValue;}}
packagecom.jpa.springjpademo.config;importorg.springframework.context.annotation.Bean;importorg.springframework.context.annotation.Configuration;importspringfox.documentation.builders.ApiInfoBuilder;importspringfox.documentation.builders.PathSelectors;importspringfox.documentation.builders.RequestHandlerSelectors;importspringfox.documentation.service.ApiInfo;importspringfox.documentation.service.Contact;importspringfox.documentation.spi.DocumentationType;importspringfox.documentation.spring.web.plugins.Docket;importspringfox.documentation.swagger2.annotations.EnableSwagger2;@Configuration@EnableSwagger2publicclassSwaggerConfig{@BeanpublicDocketproductApi(){returnnewDocket(DocumentationType.SWAGGER_2).select().apis(RequestHandlerSelectors.basePackage("com.jpa.springjpademo")).apis(RequestHandlerSelectors.any()).paths(PathSelectors.any()).build().apiInfo(apiInfo());}privateApiInfoapiInfo(){Contactcontact=newContact("111hunter","https://111hunter.github.io","");returnnewApiInfoBuilder().title("Spring Boot Restful Api Demo").description("Spring Boot Restful Api Demo").version("0.0.1").license("Apache 2.0").licenseUrl("http://www.apache.org/licenses/LICENSE-2.0").contact(contact).build();}}
编写完后端代码,启动服务: $ mvn spring-boot:run
浏览器打开 http://localhost:8034/swagger-ui.html
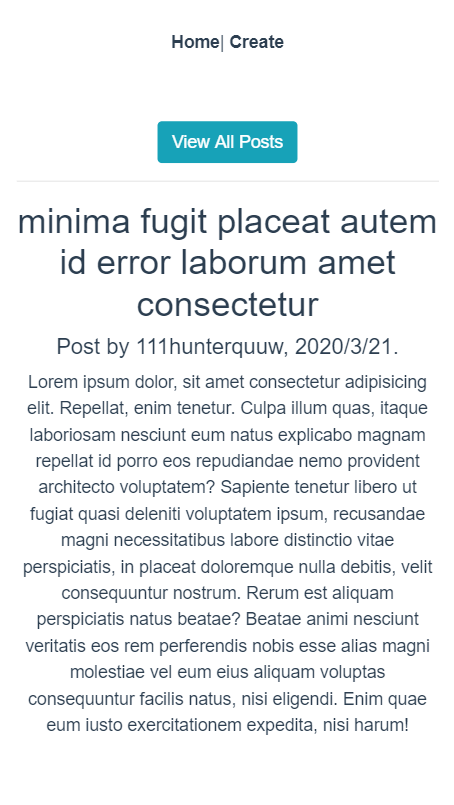
前端界面
I. 初始化配置
先安装好 Vue/cli 工具: $ npm install -g @vue/cli
安装完成后生成 Vue 项目: $ vue create blog-frontend
输入此命令后,我们将看到一个简短的提示。选择 manually select features 选项(手动选择特性)。然后按空格表示选择,我们选择 Babel、Router 和 Linter/Formatter。后面选项一路回车就好。
我们使用 bootstrap 库定义基本的 css 样式。在 public 文件夹的 index.html 中加入以下代码:
<template><div><divclass="text-center"><h1>Notes</h1><p>The blog built with Spring Boot and Vue.js</p><divv-if="posts.length === 0"><h2class="text-warning">No post found at the moment</h2></div></div><divclass="row"><divclass="col-md-4"v-for="post in posts":key="post.notes_id"><divclass="card mb-4 shadow"><divclass="card-body"><h2class="card-img-top text-info">{{ post.title }}</h2><pclass="card-text text-truncate">{{ post.content }}</p><divclass="d-flex justify-content-center align-items-center"><divclass="btn-group"style="margin-bottom: 1rem;"><router-link:to="{name: 'Post', params: {id: post.id}}"class="btn btn-sm btn-outline-info">View Post</router-link><router-link:to="{name: 'Edit', params: {id: post.id}}"class="btn btn-sm btn-outline-warning">Edit Post</router-link><buttonclass="btn btn-sm btn-outline-danger"v-on:click="deletePost(post.id)"> Delete Post
</button></div></div><divclass="card-footer"><smallclass="text-muted">Posted on: {{ new
Date(post.updateTime).toLocaleDateString()}}</small><br/><smallclass="text-muted">by: {{ post.author}}</small></div></div></div></div></div><divclass="container"><!-- 按钮:用于打开模态框 --><buttonv-if="this.posts.length"class="btn btn-warning"data-toggle="modal"data-target="#myModal"> Delete All Post
</button><!-- 模态框 --><divclass="modal"id="myModal"><divclass="modal-dialog"><divclass="modal-content"><divclass="modal-header"style="border-bottom: 0"><buttontype="button"class="close"data-dismiss="modal">×</button></div><divclass="modal-body">Are you sure to delete all posts?</div><divclass="modal-footer"style="border-top: 0"><buttonclass="btn btn-info"data-dismiss="modal">Quit</button><buttonv-on:click="deleteAllPost()"class="btn btn-danger"data-dismiss="modal"> Sure
</button></div></div></div></div></div></div></template>